News & Events
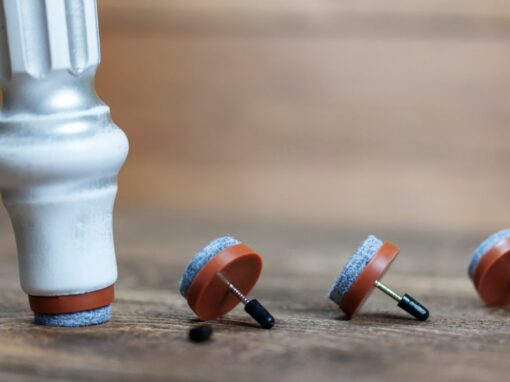
Reasons To Use Plastic Tube Inserts for Furniture Legs
Furniture legs play a vital role in a piece’s design and function. And when those legs have inserts, the furniture becomes much more appealing to buyers. Consider these reasons for using plastic tube inserts on furniture legs, and make a sound decision to improve your furnishings. Protection of Flooring Flooring…
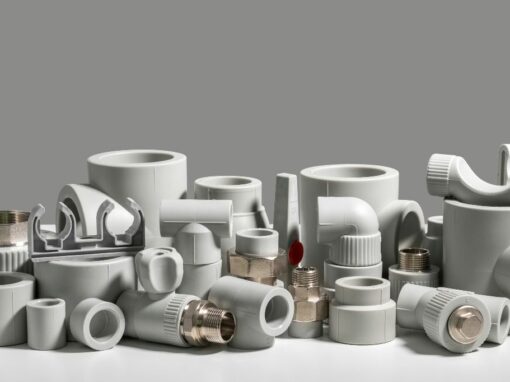
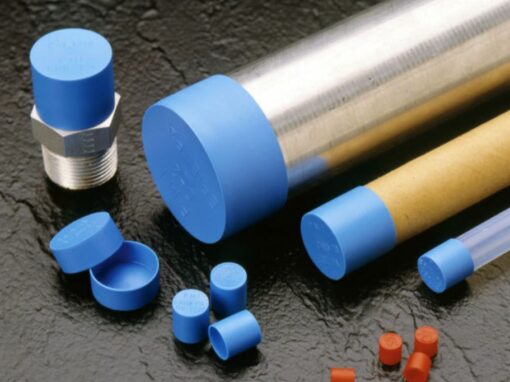
4 Tips for Finding the Right Plastic Plugs for Plumbing
Regarding plumbing, precision and reliability are nonnegotiable, and selecting the right components means the difference between a job well done and one that may need revisiting. Plastic plugs are critical for various applications, from sealing pipes during renovations to temporarily stopping leaks for emergency repairs. Here are some essential tips…
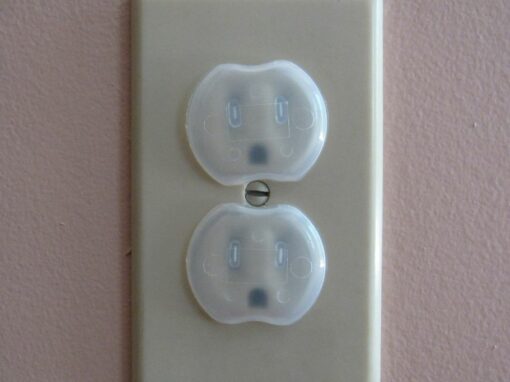
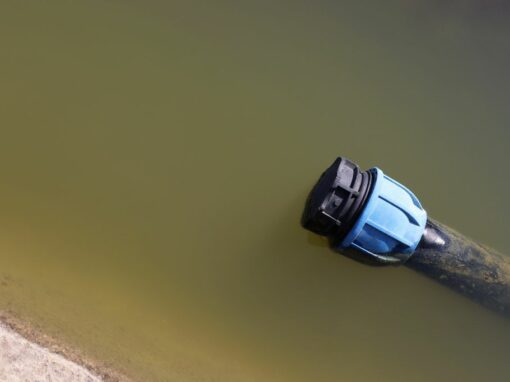
How To Ensure Electrical Connector Covers Are Waterproof
Waterproofing electrical connector covers is necessary to ensure the longevity and reliability of your electrical systems. By adopting the right techniques and materials, these covers will have assured waterproofing, and you may safeguard your connections against the most adverse conditions. Use the guide below to learn how to ensure electrical…
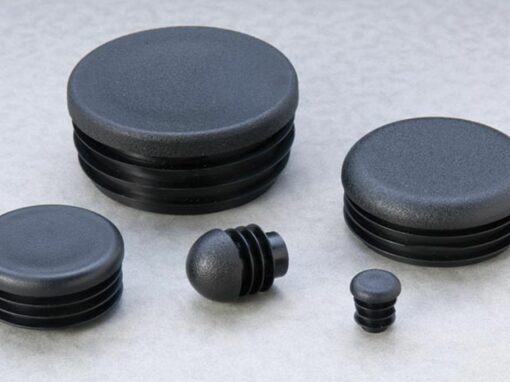
The Benefits of UV-Resistant End Caps for Outdoor Use
In the vast industrial landscapes, objects that weather the elements without losing their luster are a rarity, and the outdoor environment is a relentless stress test for materials and components. UV-resistant end caps are an optimal choice in many industries to counter these natural effects due to their numerous benefits….
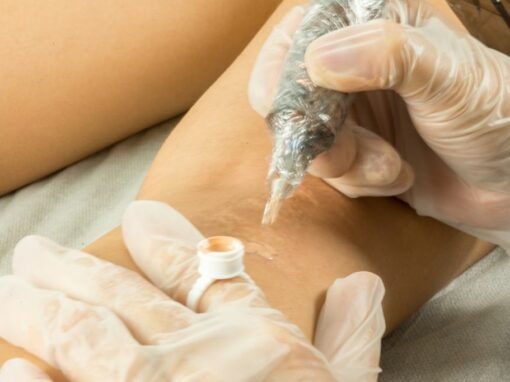
Body of Art: How Tattooing Scars Helps People Heal
Tattooing could be the bridge to closure for people who bear the stories of trauma and recovery on their skin. This particular form of tattoo artistry, scar tattooing, is deeply rooted in therapeutic benefits. Discover how tattooing scars helps people heal and how to help your clients regain a new…
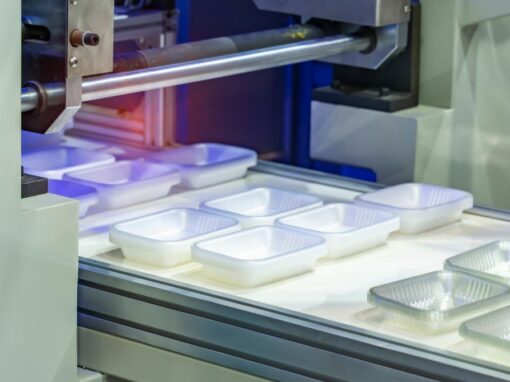
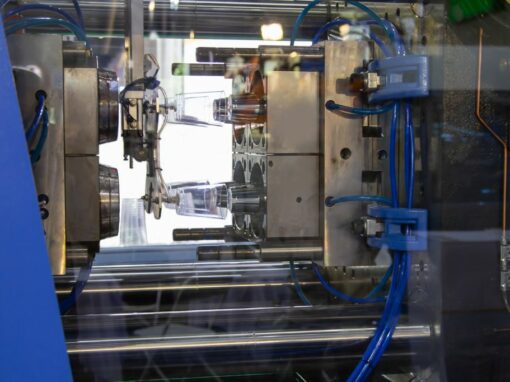
5 Emerging Pieces of Technologies in Injection Molding
Innovation in manufacturing takes giant strides in shaping the products we use daily. Injection molding, a linchpin of manufacturing, is undergoing transformative tech evolutions that promise more cost-efficiency, speed, and precision. Discover some emerging technologies in injection molding that spark the curiosity of engineers and manufacturers alike. 1. Additive Manufacturing…

11 Common Uses for Vinyl End Caps in the Paint Industry
Vinyl end caps are prized for their functionality and versatility. They help painters and paint manufacturers overcome challenges and perform processes. Explore the common uses of vinyl end caps in the paint industry and how they play a significant role in the efficiency of operations. 1) Protecting the Edges of…
Best Practices for Securing Plastic Tubing End Cap Plugs
In the world of product design and manufacturing, small components often play a crucial role. Take, for instance, plastic tubing end cap plugs—the unassuming yet vital safeguards for the ends of various plastic tubing applicators. It’s important to keep them in place. Use these best practices to secure end cap…
Why Moisture Resistance Is Important for Plastic End Caps
For manufacturing professionals and plastic product designers, selecting the right components makes the difference between a product’s success or failure. One such critical component is the plastic end cap, which needs to have various features, including moisture resistance. Read on to learn why moisture resistance is important for plastic end…
5 Ways To Lower Your Injection Molding Costs
Injection molding is a cornerstone of many industrial processes, from the production of consumer goods to intricate parts for aerospace and medical products. Its widespread use is a testament to the reliability and versatility of the process. But that’s not to say it’s without its challenges, particularly in the realm…